Switching rolling pins is a bit like switching from Windows to a Mac. Whichever one you grew up with probably feels like the right one.
I grew up using a rolling pin with handles. A French rolling pin looked downright intimidating. No handles? A rolling stroke that stops when you run out of palm? And why on earth would you make the ends narrower? Surely that would leave the dough thin in the middle and thick around the edges.
Curiosity finally won, and I bought one. It was usable, but I didn’t understand the enthusiasm until I baked gata with Polina Chesnakova. Seeing how she handled the pin made everything click.
The taper isn’t a problem to work around. It’s what lets you control the shape of your dough.
Key Takeaways
- Tilting a tapered French rolling pin helps direct dough into flat spots and underfilled corners.
- Roll outward from the center in two strokes instead of trying to roll edge to edge.
- Rotate the dough 90 degrees after each pair of strokes to help even its thickness.
The Taper Lets You Direct the Dough
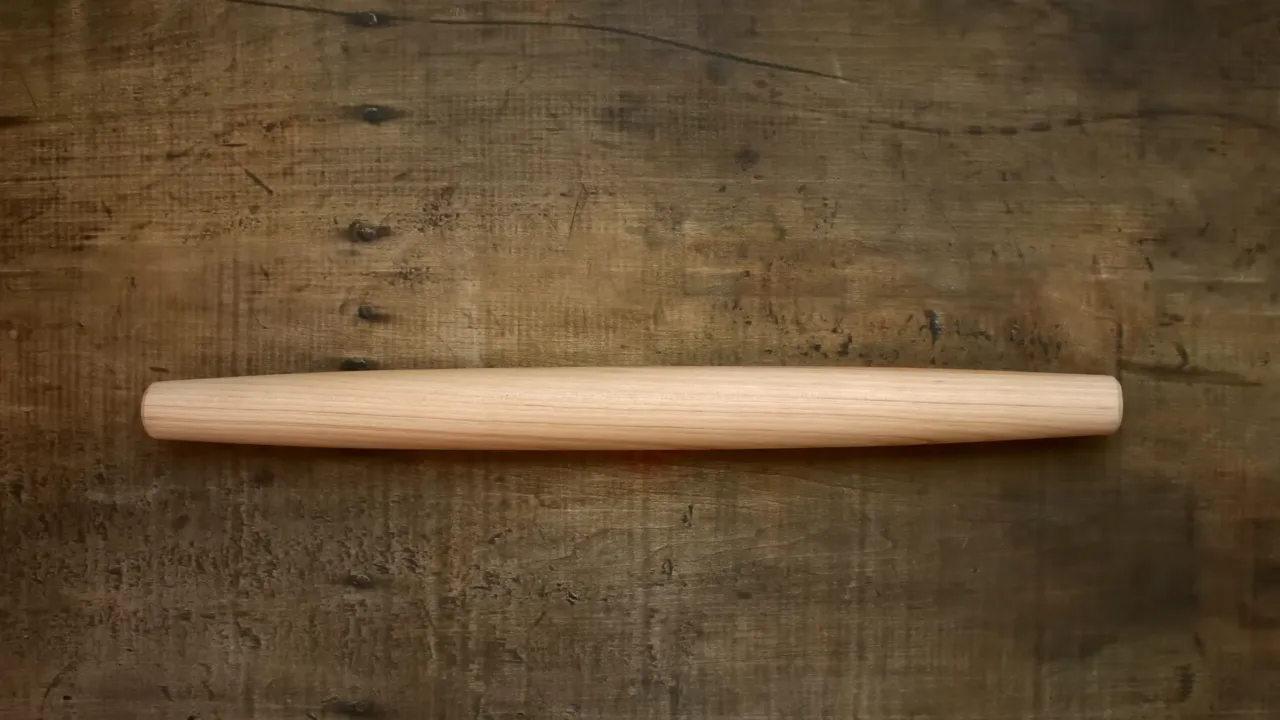
A French rolling pin has a wider middle and narrower ends, rather than a straight barrel that spins between two handles.
With my old pin, I could roll back and forth quite comfortably. But when the dough started heading in the wrong direction, I didn’t feel I had much control over it.
The French pin gives me a way to work on a particular area. By tilting it, I can direct pressure where I need it and encourage dough to move toward a spot that needs filling out. Instead of simply making the whole piece bigger, I can make a correction.
How to Correct a Lopsided Circle
Suppose you’re rolling a circle, but one side is a little flat or indented. Continuing to roll across the entire piece won’t necessarily fix that spot.
Instead, tilt the pin toward the area you want to extend. Roll the nearby dough outward into that space, then check the outline again. You’re taking dough from where you have enough and sending it toward where you need more.
That small adjustment is what surprised me. I didn’t have to accept whatever shape happened to emerge.
How to Roll a Better Rectangle
The difference is especially useful with rectangles. It’s easy to make a piece of dough longer and wider while the sides curve and the corners remain rounded.
To straighten the sides, work toward the corners. Tilt the pin and direct dough from the nearby edges into each corner, rather than rolling endlessly back and forth through the middle.
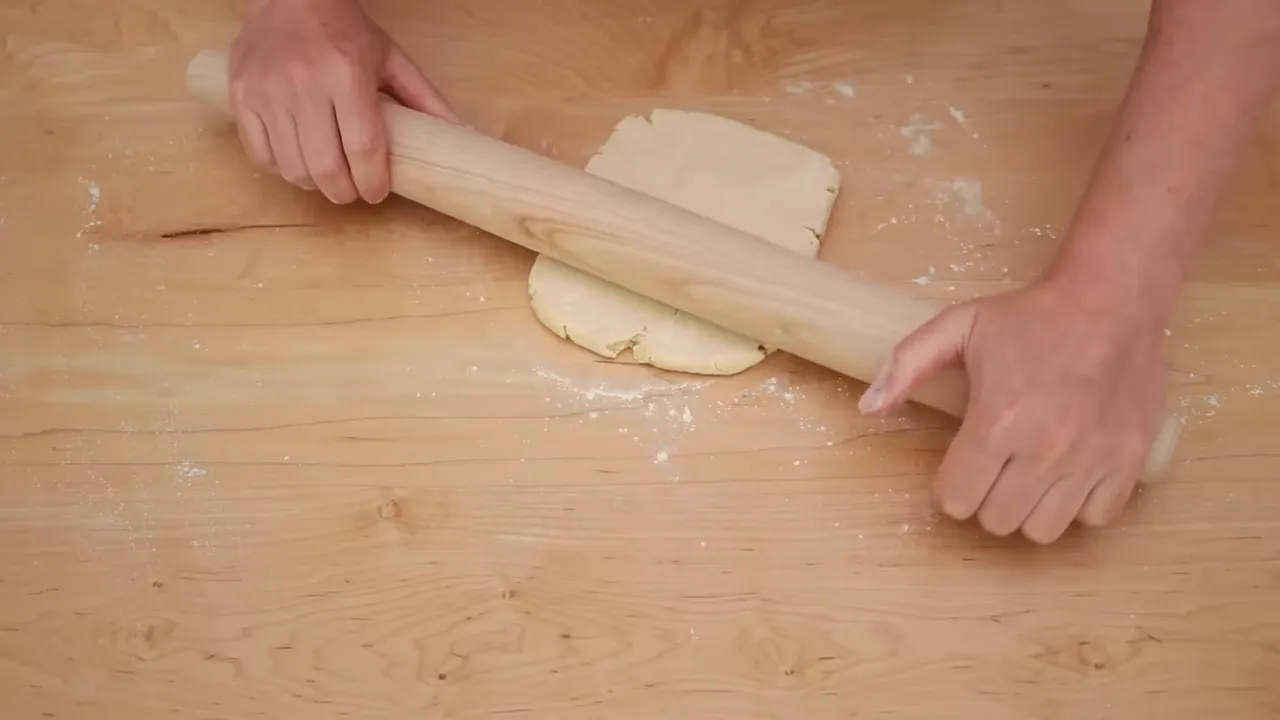
Work on one corner, then another. Pause to inspect the edges. If there’s a little dip along one side, use the pin to move nearby dough outward into it.
This doesn’t mean every roll must be a correction. It means you can alternate between enlarging the dough and adjusting its outline. You’re deciding where it goes, rather than letting it go wherever it wants.
Start in the Center, Not at the Edge
There is one very real adjustment when you switch from a handled pin: the length of your stroke.
With handles, the barrel keeps spinning as you move your arms. You can roll across a large piece of dough in one continuous motion. With a French rolling pin, the pin rolls beneath your palms, and eventually you run out of palm.
The solution is not to force an edge-to-edge stroke. Split the work into two shorter rolls, both starting in the center.
- Place the pin across the center of the dough and roll away from you.
- Return the pin to the center.
- Roll toward you.
- Repeat this center-out pattern as you enlarge the dough.
Think “center up, center back,” rather than one long trip across the entire piece. That shorter rhythm makes much more sense for a pin without handles.
Rotate the Dough to Keep the Thickness Even
What about that original worry: won’t a tapered rolling pin make the middle thinner than the edges?
It can, temporarily. That’s why rotation is part of the technique, not an occasional extra.
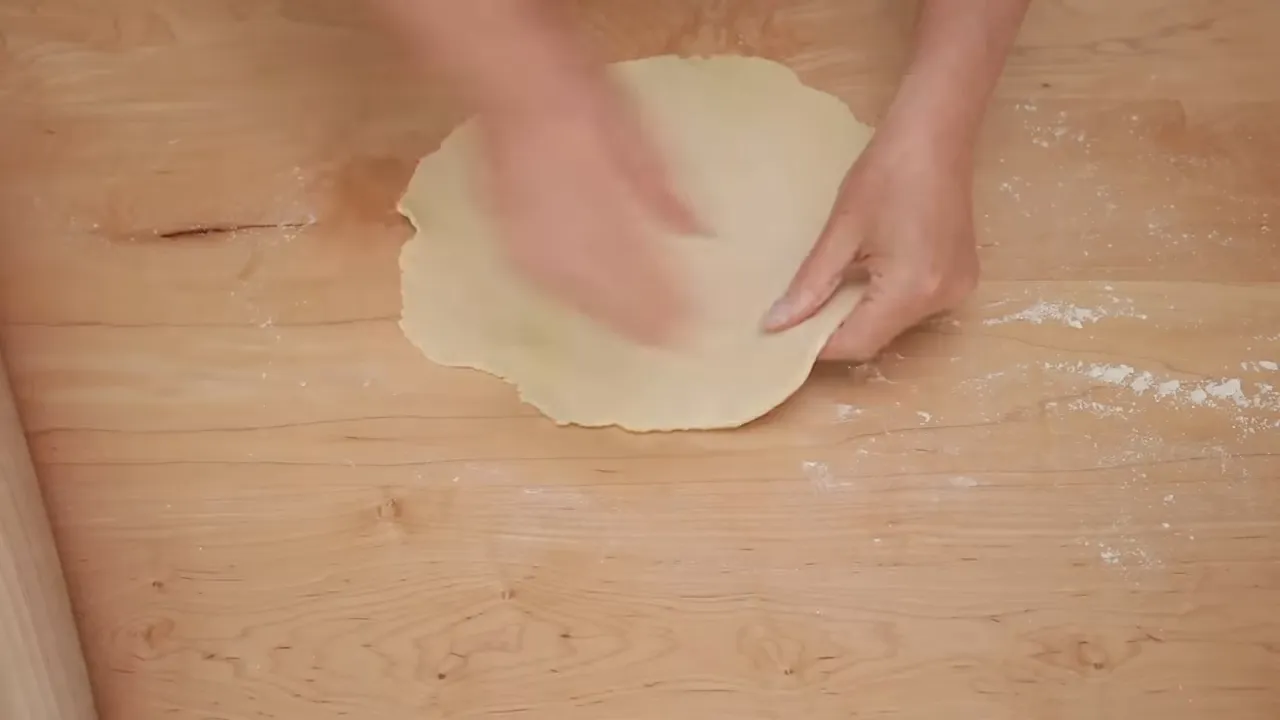
After each pair of rolls, one away from you and one toward you, rotate the dough 90 degrees. Your next pair of rolls works across the previous direction and helps even out the thickness.
The basic rhythm becomes:
- Roll from the center away from you.
- Roll from the center toward you.
- Give the dough a quarter turn.
- Repeat.
Frequent rotation has another benefit: it lets you catch sticking before it becomes a disaster. You find out whether the dough is moving freely while you still have a chance to address the problem.
Use the Taper to Thin the Edges
If an edge remains too thick, you can also tilt the pin toward that edge to thin it. Rotate the dough, then work on the next area that needs attention.
This combination of rotation and targeted rolling helps keep a circle round while bringing its thickness into balance.
Keep Your Old Rolling Pin While You Learn
In my first few attempts, the thickness of my dough was still slightly uneven. If that happens to you, there’s nothing wrong with finishing with a few passes of your handled rolling pin.
Use the French pin to practice directing the dough and controlling its shape. Then use the familiar pin to even things out if you need to.
After a few tries, I became comfortable enough with the French pin that I no longer needed the old one’s help. But there’s no prize for making the transition harder than it needs to be.
Put the Technique to Work
A good way to get comfortable is to give yourself something delicious to practice on. Try a caramelized onion, tomato, and Gruyère tart, an apricot galette, or Polina’s Armenian gata, the pastry that helped this technique click for me.
The important change isn’t just the tool. It’s the way you use it: roll from the center, rotate frequently, and tilt the pin when a particular spot needs help. Once those movements feel natural, the French rolling pin stops looking scary and starts feeling wonderfully precise.
And if you’re ever in the Boston area, perhaps we’ll get to cook together in one of my classes.
|


