If your cast iron or carbon steel skillet gives you trouble, you are not alone. If building and maintaining good seasoning were easy, we wouldn’t need a gazillion tutorials devoted to it.
Giving seasoning advice is a little like giving parenting advice. Those of us offering it often have grown-up skillets with which we enjoy wonderful relationships. The people asking for help have skillets going through the terrible twos.
Testing a new skillet for Strata gave me a chance to relive those terrible twos. It refreshed my memory about what actually happens during the first few months of cooking and helped me find a few ways to reduce sticking. The biggest lesson? A freshly seasoned skillet needs different treatment from one you have happily cooked in for years.
Key Takeaways
- Flash seasoning can dramatically reduce sticking while cast iron or carbon steel seasoning is still developing.
- A gentle rinse-and-wipe routine helped my new skillet build seasoning without removing every trace of cooking fat.
- Choose easy foods for the first 10 to 20 cooks, avoiding sticky, smelly, acidic, or wet dishes.
- Regular butter is my preferred fat for reducing sticking in egg dishes.
1. Try Long Yao, or Flash Seasoning, Before Cooking
Long yao is a technique Chinese cooks have used for a long time, but I learned about it only recently. Papa Mau calls it flash seasoning, which is a useful way to think about this quick treatment before cooking.
- Heat the skillet until it is very hot.
- Add just enough neutral, high-smoke-point oil, such as vegetable oil, to coat the bottom.
- Swirl the oil around the skillet and wait for it to smoke.
- Carefully pour the oil into a heat-safe container.
- Wipe out the skillet, then add fresh cooking fat and proceed with your dish.
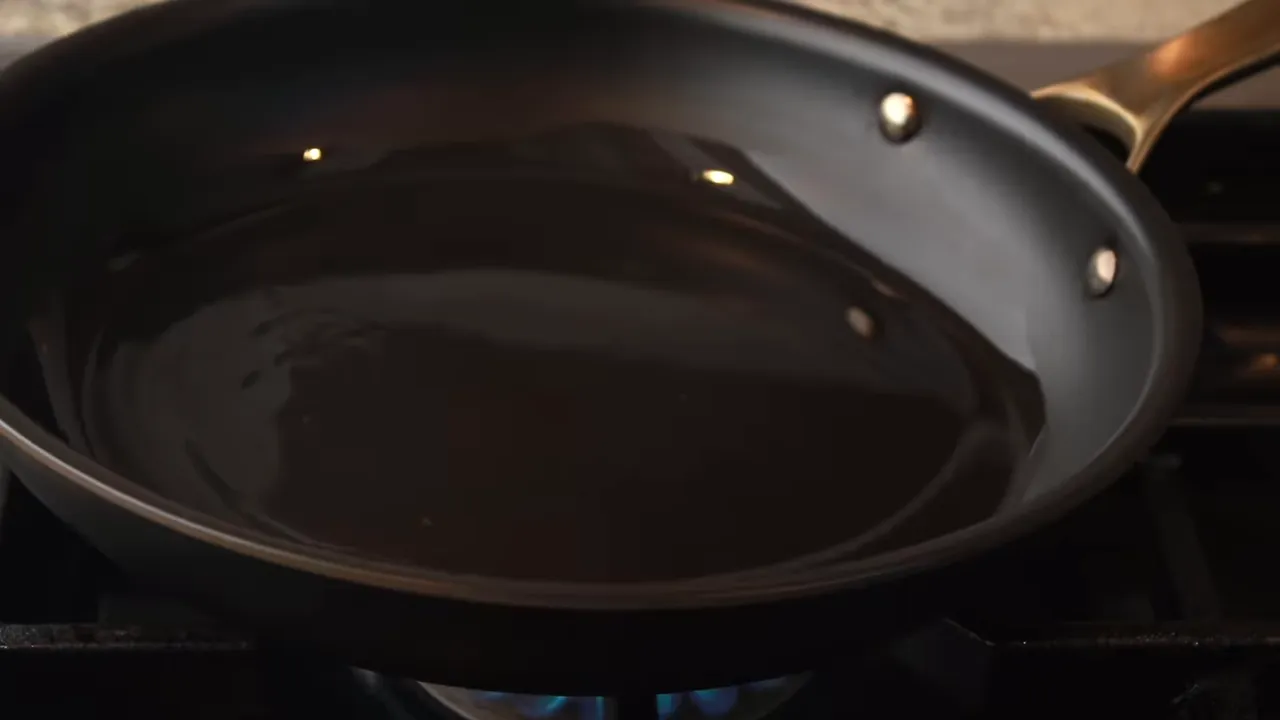
This is not the same as traditional seasoning. You are not leaving the oil on long enough to polymerize into a solid layer. Nevertheless, I found that it reduced sticking tremendously.
For the first 10 cooks, I would use flash seasoning before every cooking session. After that, I would reserve it for particularly sticky situations. If a dish gives you trouble, try long yao before making it again.
Why I don’t do it before every cook forever
If all my cooking happened outdoors, I would be tempted. Indoors, the smoke gives me pause.
Reports of higher lung cancer rates among Asian American women who have never smoked have raised questions about possible exposures, including fumes from smoking cooking oil. An association does not establish that cooking smoke is the cause, but it is enough to make me cautious about frequent exposure.
My concern is the difference between a short period of breaking in a skillet and a daily habit continued for years. A good exhaust hood helps, but not everyone has one. For general context, the EPA discusses cooking-related particles in its guidance on indoor particulate matter.
If you have an outdoor grill, you can do your initial seasoning and the long yao treatment there to keep that smoke outside.
2. Go Easy on Soap While the Seasoning Is Young
Most cooks with a well-seasoned skillet will tell you that soap is fine. You have probably heard me say it, too. How else are you supposed to remove the fish smell before cooking something else?
That advice still applies to established seasoning. Seasoning is polymerized, or hardened, fat. Washing away liquid fat is not the same as stripping that hardened layer.
What I had forgotten was how helpful a trace of cooking fat can be when the seasoning is still developing.
I used to think washing away that fat didn’t matter. After washing and drying, I could simply rub on a very thin layer of fresh oil and heat it to create another layer of seasoning. That is still a good practice. But in my testing, the tiny amount of fat left after cooking seemed more effective at helping the seasoning develop.
My hypothesis, not a proven explanation
I suspect residual cooking fat settles into the tiny irregularities of the skillet’s surface and stays there more evenly than freshly applied oil, which can bead up during heating. That residual film may also be exceptionally thin, allowing it to polymerize more fully.
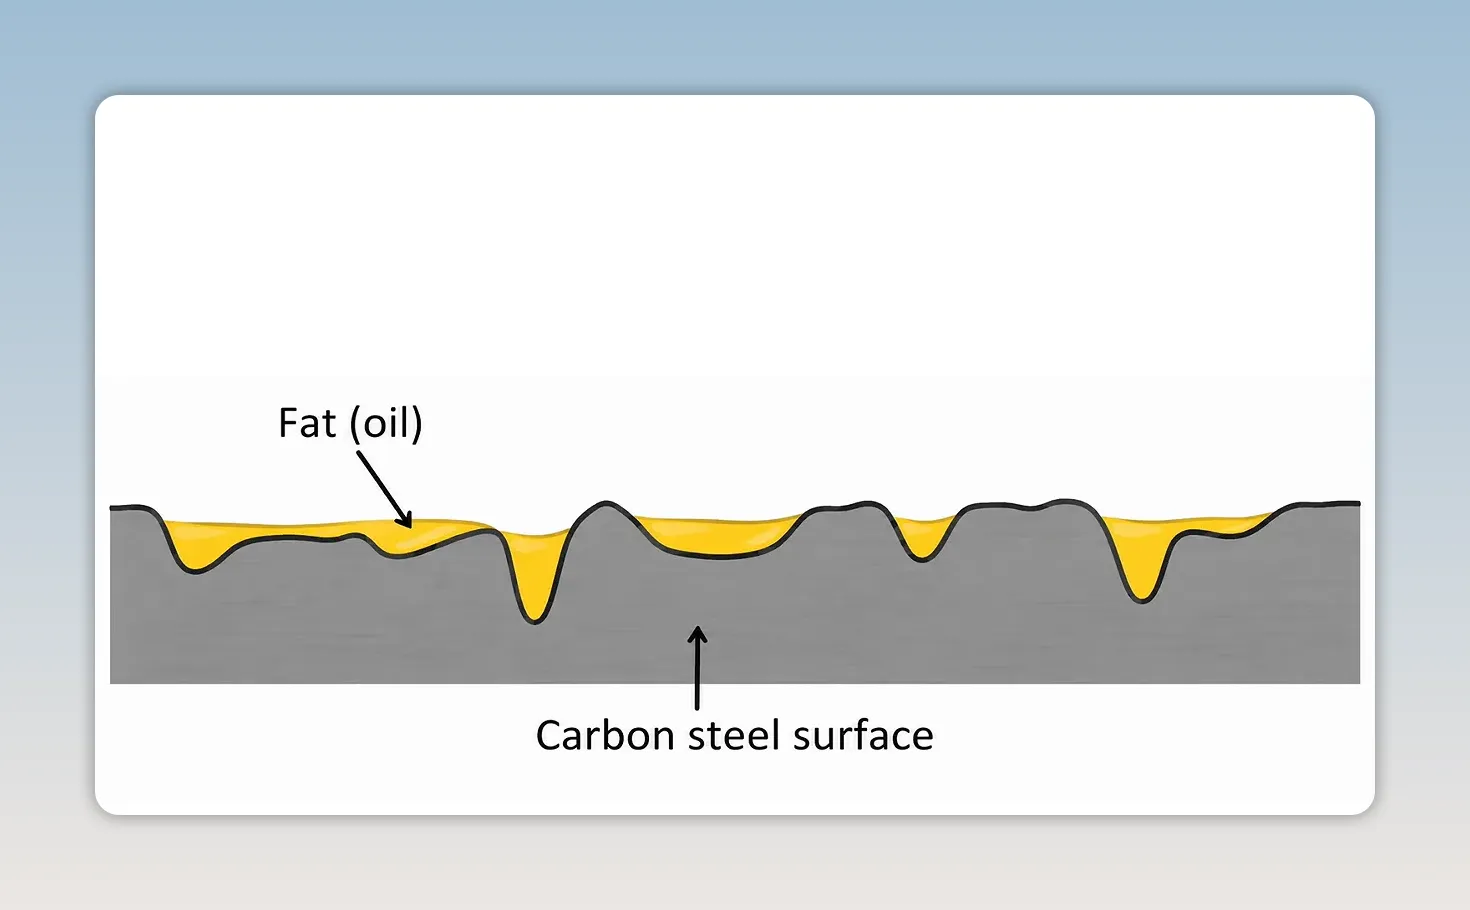
I can’t prove that explanation without examining the surface much more closely. What I can say is that a rinse-and-wipe routine worked well for me, and it is a familiar practice among cast iron enthusiasts.
How I clean a freshly seasoned skillet
- After cooking, rinse the skillet with very hot water.
- Wipe away residue with a clean paper towel if needed. Avoid your usual sponge for this routine, since it may contain traces of soap.
- Rinse until the wet skillet no longer feels greasy.
- Dry it thoroughly. You may notice a very light trace of fat when you drag a finger across the dry surface.
- Set it over medium heat until it just begins to smoke slightly, then turn off the heat.
The goal is clean, but not squeaky clean. It is not a skillet full of leftover food or a thick, greasy coating.
Of course, getting away with this gentle routine requires some strategy. If dinner leaves a stubborn mess or a fishy smell, you may need more cleaning. The next tip is about avoiding those situations while the seasoning is young.
3. Choose Easy Foods for the First 10 to 20 Cooks
Acidic ingredients and wet cooking are hard on seasoning. A skillet with years of use may tolerate losing a little of its protective layer. A new one has much less to spare. Tomato sauce, for example, is a job I would give to stainless steel.
During the first 10 to 20 cooks, I would also avoid foods likely to stick or leave smells that require soap and scrubbing.
- Potatoes, rice, and noodles: These tend to stick and can leave you with a scrubbing project.
- Fish: Even when it releases nicely, the lingering smell may require soap.
- Scrambled eggs: Repeated stirring gradually incorporates the butter into the eggs, leaving the skillet less protected.
- Ground meat: It releases a lot of moisture, which can work against the seasoning you are trying to build.
For the first few weeks, I would skip these foods entirely. During the first few months, when you begin introducing them, use flash seasoning beforehand to help reduce sticking. That doesn’t make acidic cooking harmless to seasoning, so I would continue giving those dishes to another pan.
So many restrictions, I know. Is there anything left to cook?
Good foods for breaking in cast iron and carbon steel
Fried bread, or restaurant-style toast, is an excellent place to start. It is delicious, useful alongside almost any meal, and a much friendlier assignment than scrambled eggs.
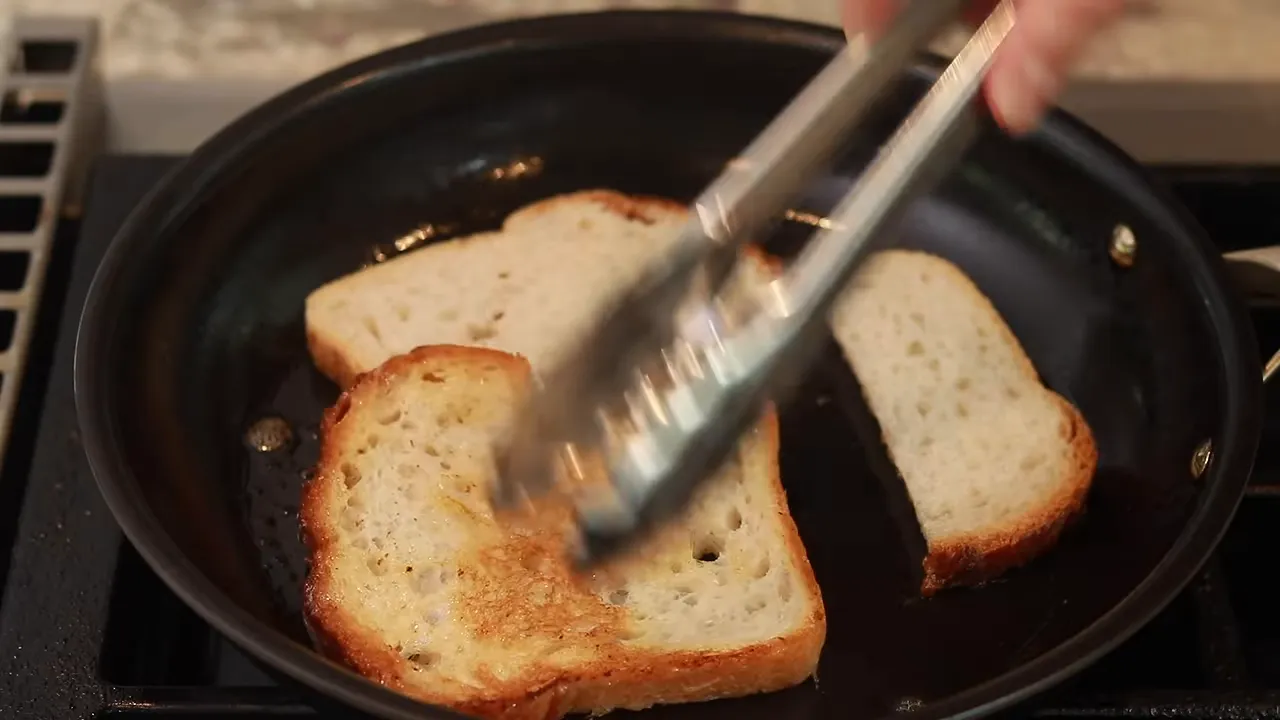
Vegetables that are less prone to starchy sticking also work well. My suggestions include:
- Carrots, beets, turnips, and parsnips
- Cauliflower and broccoli
- Green beans and onions
You can cook these vegetables in butter or oil.
Sunny-side-up eggs usually behave well, too, provided you use butter. Unlike scrambled eggs, they don’t involve constant stirring that pulls the cooking fat away from the pan.
Once you have enjoyed a few months of reliable, low-sticking cooking, you can take off the training wheels. These restrictions are a temporary strategy for building seasoning, not a lifelong menu.
4. Make Regular Butter Your Friend
For eggs, I find butter much less prone to sticking than oil. But there is an important detail: it needs to be regular butter, not clarified butter.
Regular butter is my fat of choice for most egg dishes, especially scrambled eggs and omelets. That does not mean I would make scrambled eggs the first assignment for a newly seasoned skillet. It means that when the skillet is ready for them, butter gives me the best chance of an easy release.
If you want to cook eggs in oil, I would first build up a few months of seasoning and use a low-heat approach. Eggs in oil are not the entrance exam your brand-new skillet needs to pass.
This distinction also helps keep the two jobs of fat separate: use a neutral, high-smoke-point oil for flash seasoning, discard it, and then add the fat best suited to the actual dish.
5. Use Salt When Something Does Stick
Sooner or later, something will stick. Even a carefully chosen menu cannot guarantee a perfectly behaved skillet forever.
When that happens, use salt as a scrub to help remove the stuck food. It gives you another cleaning option rather than immediately turning every mishap into a major scrubbing session.
The earlier tips are intended to postpone that first difficult cleanup while the seasoning gains strength. A few weeks of easy cooking can make the whole process much less frustrating.
A young skillet is not a failed skillet. It may simply need easier assignments, a little help before cooking, and time.
How the New Strata Nitrided Carbon Steel Skillet Performed
The Strata skillet that prompted all this experimentation did get through its terrible twos. It is now a joy to use, including for eggs cooked in oil.
This was also the first time I had given a cookware company feedback and then seen it address the problem that bothered me.
A flatter bottom keeps oil where it belongs
The earlier 11-inch skillet had a pronounced bow in its cooking surface. On the 12½-inch version, the effect was barely noticeable to me. On the 11-inch version, it caused real grief: oil ran toward the edges and left the center high and dry.
That bow was intended to help prevent warping on induction. In the new version, Strata made the skillet slightly heavier instead, allowing for a flat bottom.
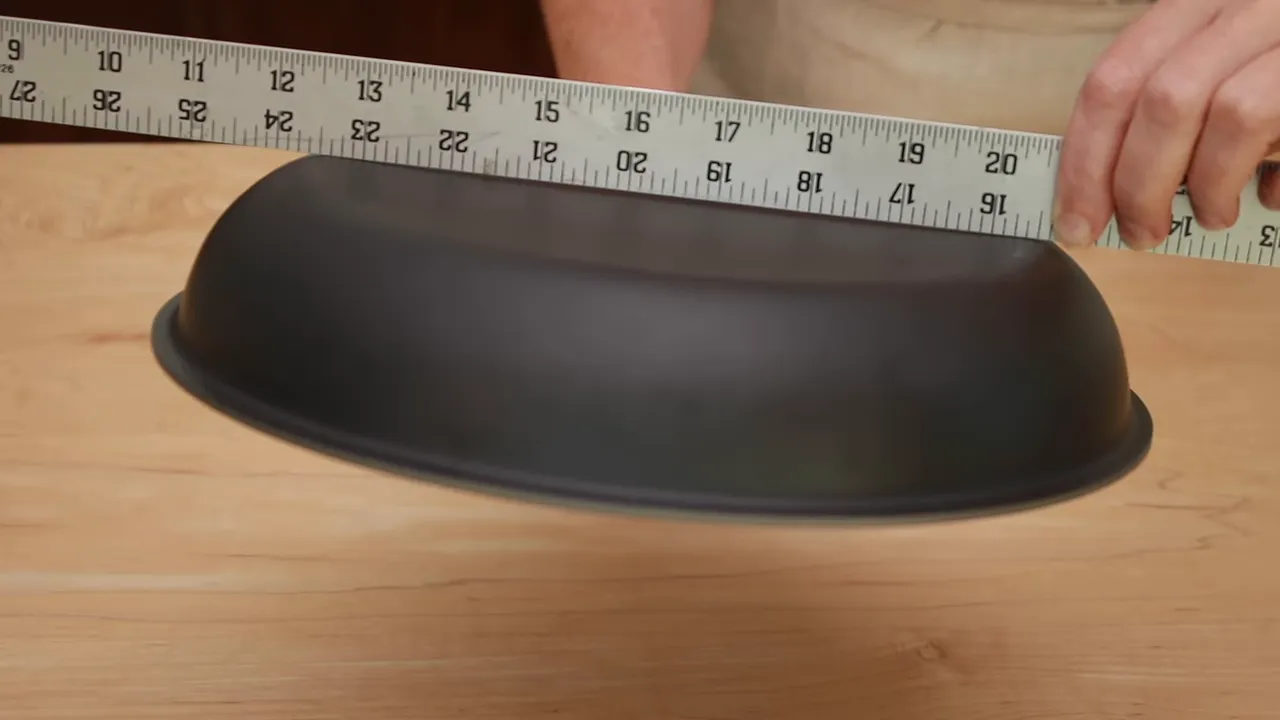
If a little extra weight is what it takes to keep the cooking surface flat, I am all in.
A different surface inside and out
The earlier design had stainless steel on the exterior and carbon steel on the interior. The new version has gray nitrided carbon steel surfaces inside and out. The nitriding treatment is intended to protect the carbon steel against rust.
The surface also feels slightly more textured than the original. It is smooth compared with a Lodge cast iron skillet, but not quite as sleek as stainless steel. In my experience, that little bit of texture helps it hold onto seasoning.
You can find the model I tested on Strata’s nitrided skillet page. This is an affiliate link, which means I earn a commission from qualifying purchases.
Whatever skillet you use, the useful distinction is the same: maintaining mature seasoning and building new seasoning are different jobs. Give a new pan some patient, strategic cooking before expecting it to behave like an old friend.
For more on choosing skillet types and understanding what happens at the cooking surface, my cookbook, The Science of Dinner, includes a whole chapter on the art and science of browning.
|


